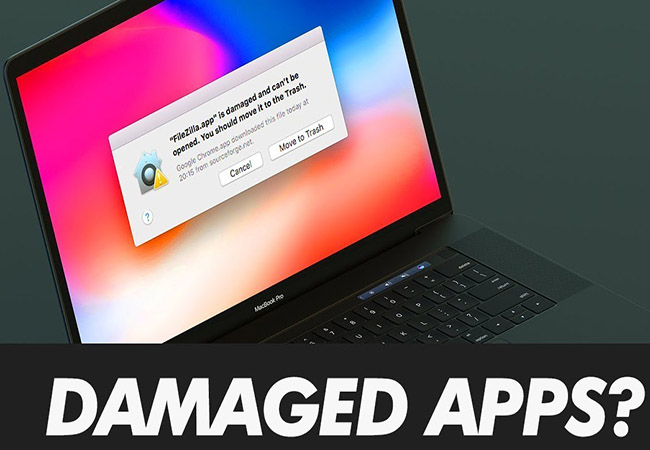
 Apple has tightened up the Gatekeeper security in its latest operating system like macOS Catalina and one very visible change is that the option to allow apps from unidentified developers is no longer there. Now if you went to run/install a non-App Store application in you macOS then you face are a common error like “App is Damaged Can’t Be Opened. You Should Move To Trash” or “”App is damaged and can’t be opened”. So you need to ix damaged app message on macOS just follow below guide.
How to fix damaged App problem macOS Catalina?
- Open a Terminal with appropriate privileges (“sudo bash” to make you root on most systems)
- Enter the following, substituting “AppName” with the real name of the app:
xattr -cr /Applications/AppName.app
- Press Enter to run the command.
This should fix the problem!
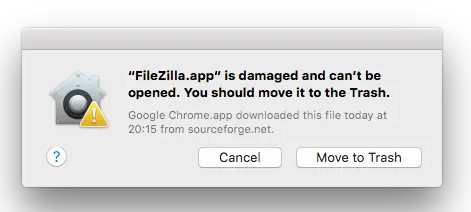
Or check below Solution App is Damaged Can’t Be Opened:
It also Gatekeeper problem. So you need to resolve Gatekeeper issues on macOS.
For that reason you might have to completely disable Gatekeeper checks, and to do that open your terminal and type:
sudo spctl –master-disable
You need to enter your password and you’re done.
If you wen to see you damage problem or working process successful or not you need to Open Settings. So just go Anywhere option under System Preferences –> Security & Privacy.
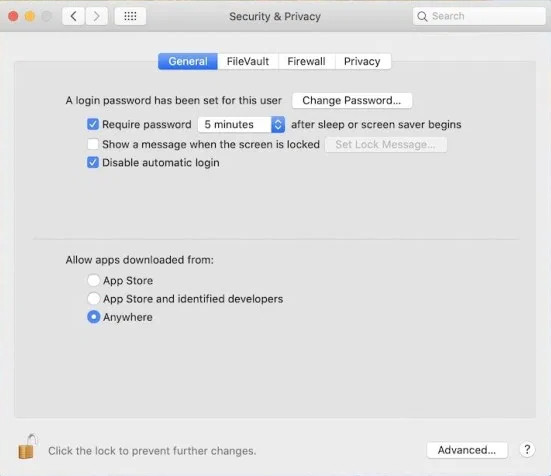
How to back my Gatekeeper previous Settings:
To enable Gatekeeper again, enter the following command.
sudo spctl –master-enable
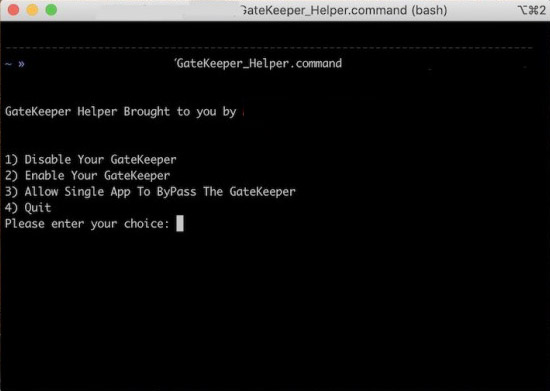
How To Use GateKeeper Helper setting:
The helper offer the following options:
- Disable Your GateKeeper.
- Enable Your GateKeeper.
- Allow Single App To ByPass The GateKeeper.
- Or Below check photo.
How To Open damaged software Mac without disable Gatekeeper:
A short tutorial on how open damaged files and application on Mac without disable GateKeeper.
Some users, after this tutorial, cannot open the software on the latest version of macOS High Sierra or latest. I found a temporary solution to this problem:
- You have to go into Terminal (you can find with Spotlight)
- Type the command ‘sudo spctl –master-disable‘ and enter the system password
- Open the software (right click and select ‘open’) and then type on terminal ‘sudo spctl –master-enable‘
- In this way you put an exception on your system.
All Done! Try now all solution your latest macOS. Thanks
